Rejoice, Linux kernel newbies. Last week, I hacked an Ethernet driver in the Linux kernel, but the hack didn’t work; it turns out that the driver I chose isn’t used in my native Linux image on my PC. This week, I tackled the problem again, with success! And if I can do it, you can, too.
From the Linux Newbies First Kernel Patch tutorial, I followed the instructions on how to download the kernel source, modify the e1000_main.c Ethernet driver, compile the modified kernel, install it, and run it. I intended to see the output of the printk(KERN_DEBUG "I can modify the Linux kernel!\n");” instruction I inserted into the e1000_probe procedure. Surprisingly, it didn’t work; when I booted into the modified kernel, there was no sign of the text “I can modify the Linux kernel!” in the dmesg output. I later found out that this wasn’t so surprising, because the e1000 driver isn’t used in the native Ubuntu kernel I have on my PC. It is more applicable to Linux running on a VM.
It was time to find out the correct kernel driver to modify. But how to go about that?
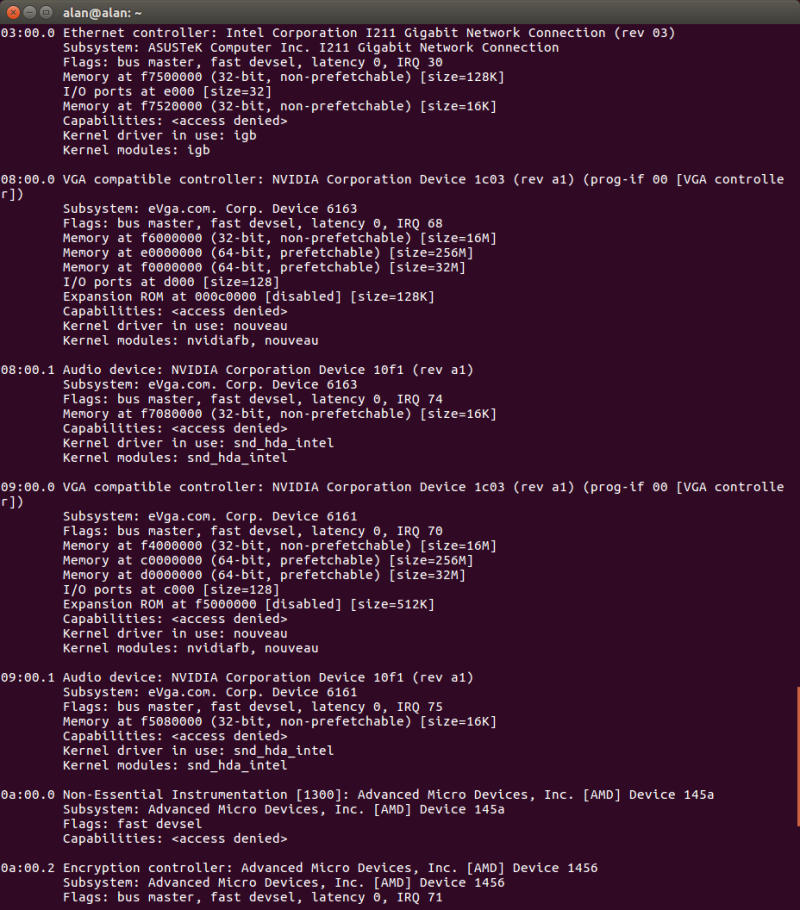
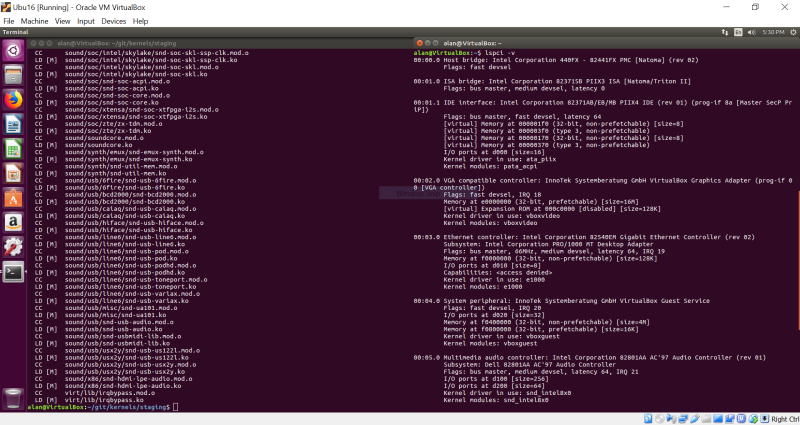
After some research, I found out that mapping a device to its kernel driver is done with the lspci -v command:
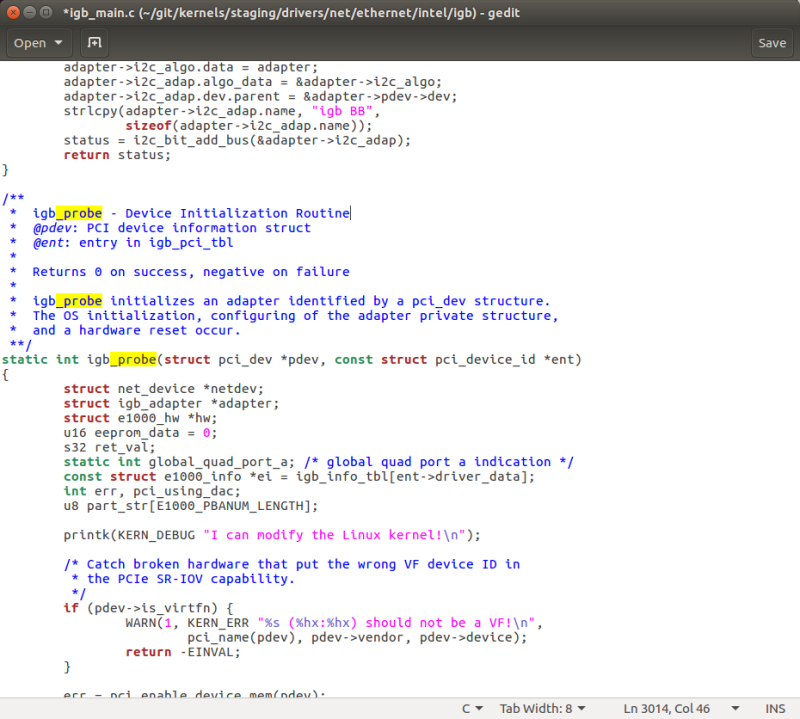
As can be seen at the top in the above snapshot, the Intel I211 Ethernet controller is under control of the “igb” kernel module. Going into the directory /git/kernels/staging/drivers/net/ethernet/intel/igb, we see module source code with the name of igb_main.c. Opening it up in gedit shows a structure very similar to the e1000_main.c, with a procedure of static int igb_probe() that I can put my kernel debug printk into:
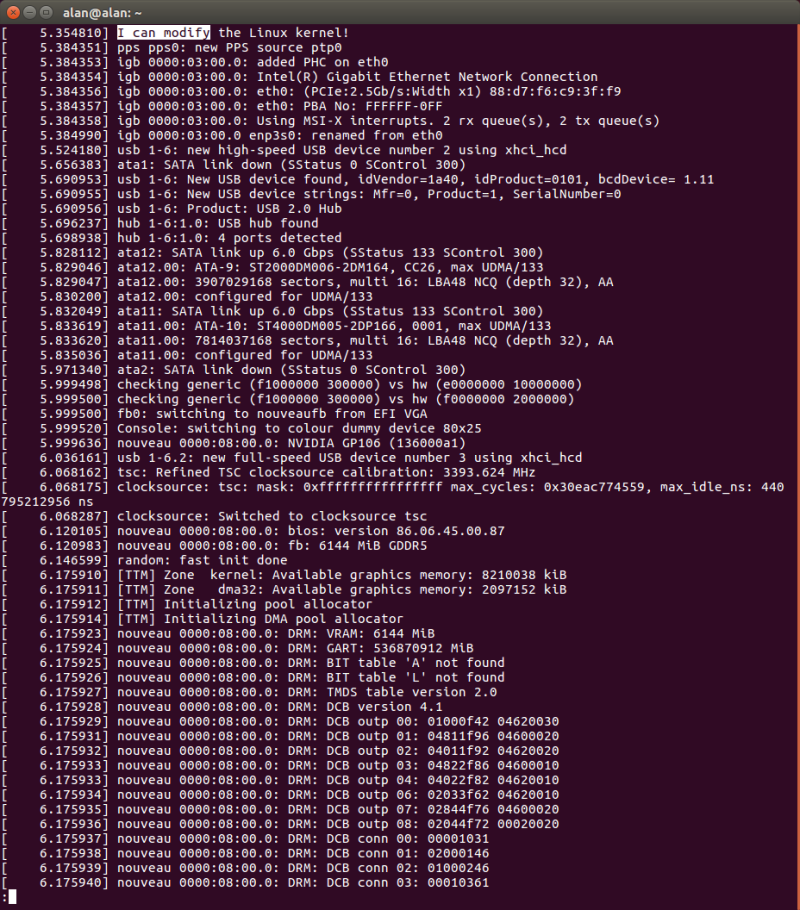
After that, I just recompile the kernel, install it, and boot into it like before. Checking “dmesg | less” and typing “/I can modify” shows the following:
Yes, it worked! During the boot process, we see the instance of my printk command once, as it is invoked by igb_probe(). I have successfully hacked the Linux kernel.
Just for more fun, I decided to go through the same process, but this time using Virtualbox. I am guessing that I will be editing e1000_main.c, instead of igb_main.c, to install the kernel patch.
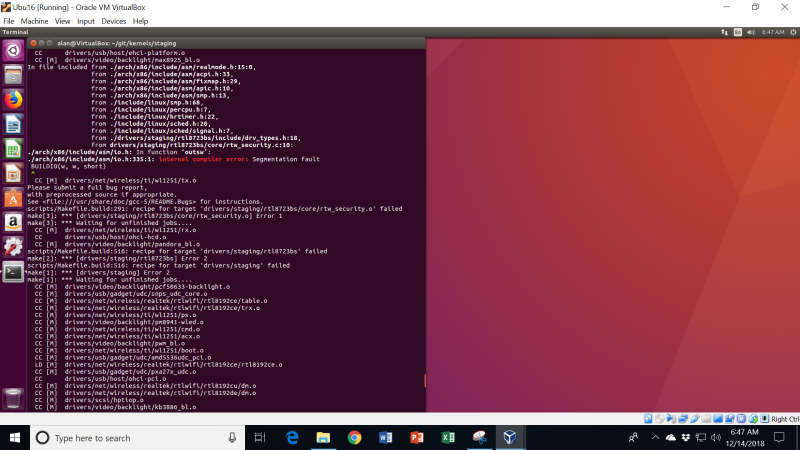
I want to build an unaltered kernel first, and boot into it, and then check with “lsmod” and “lspci -v” that, indeed, e1000 is the Ethernet driver for my VM. So, I go about compiling the kernel and – horrors! – I get an error message, that is directly attributable to the dreaded segmentation fault I’ve seen before using Yocto:
This is really frustrating. I am only using 8 threads for the build, and leaving 8 threads for Windows. But, the builds won’t succeed. The difference this time versus the Yocto builds is that at least the build fails with a core dump. When I was trying to run Yocto, the whole OS would crash, and I would be bumped to the Ubuntu login screen, with no meaningful information available via dmesg.
I did find a workaround by running the make with only one core. So, just issue “make” instead of “make -j16”. This works most of the time. But it seems to take quite a bit longer.
After installing the kernel, I used lspci -v to determine that, indeed, e1000 is the driver in this instance:
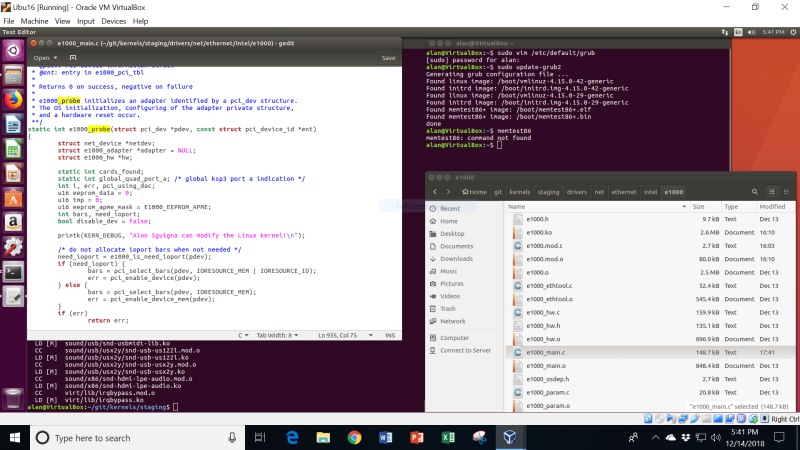
I edited the e1000_probe function, as before, re-compiled and re-installed the kernel, and then booted into it. Voila! I saw my kernel modification again, at the top of the dmesg | less output, by typing in “/Sguigna”:
Alright, I now have this process fully understood. It’s time to move on to more advanced topics. Next time, I’ll be making modifications to the Linux kernel on the MinnowBoard, and debugging it.
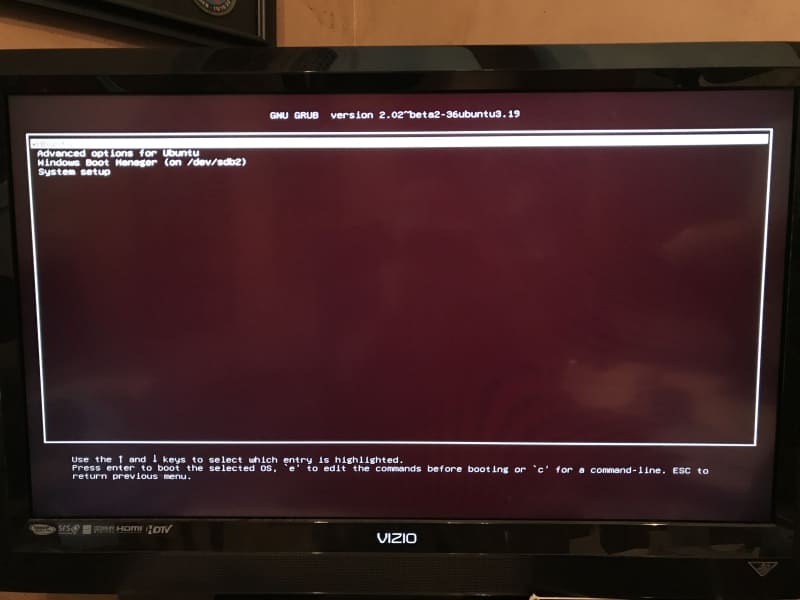
As an aside, I do have a background task going on to try to find out why I’m continuing to see segfaults on my AMD home-built PC during direct Linux builds and Yocto builds under Virtualbox, but I don’t see them on my Surface Pro. I suspect some isolated compatibility issue. I have tested the hardware, and it seems OK. On Virtualbox, since I have modified the grub menu as I boot into my brand new staging-testing kernel, I have access to memtest86:
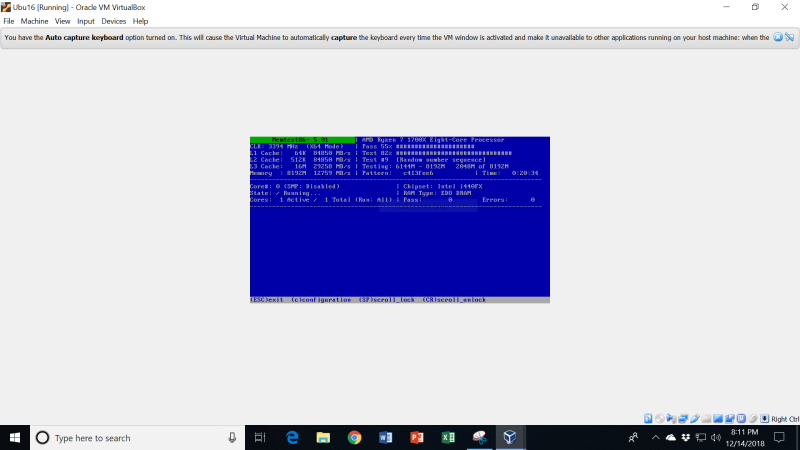
So, I booted into that, and ran it for some hours:
Alas, it did not fail. The memory on my PC appears to be OK. So, kill-ryzen and memtest86 exonerate the CPU and memory so far. What a mystery!
Want to read more about the MinnowBoard, and my journey of learning into the arcane world of UEFI, x86 architecture, Linux kernels, etc.? You can check out the first 31 chapters in the eBook. And don’t worry, I’ll soon update the eBook with all the subsequent chapters up to 41 and beyond.


